
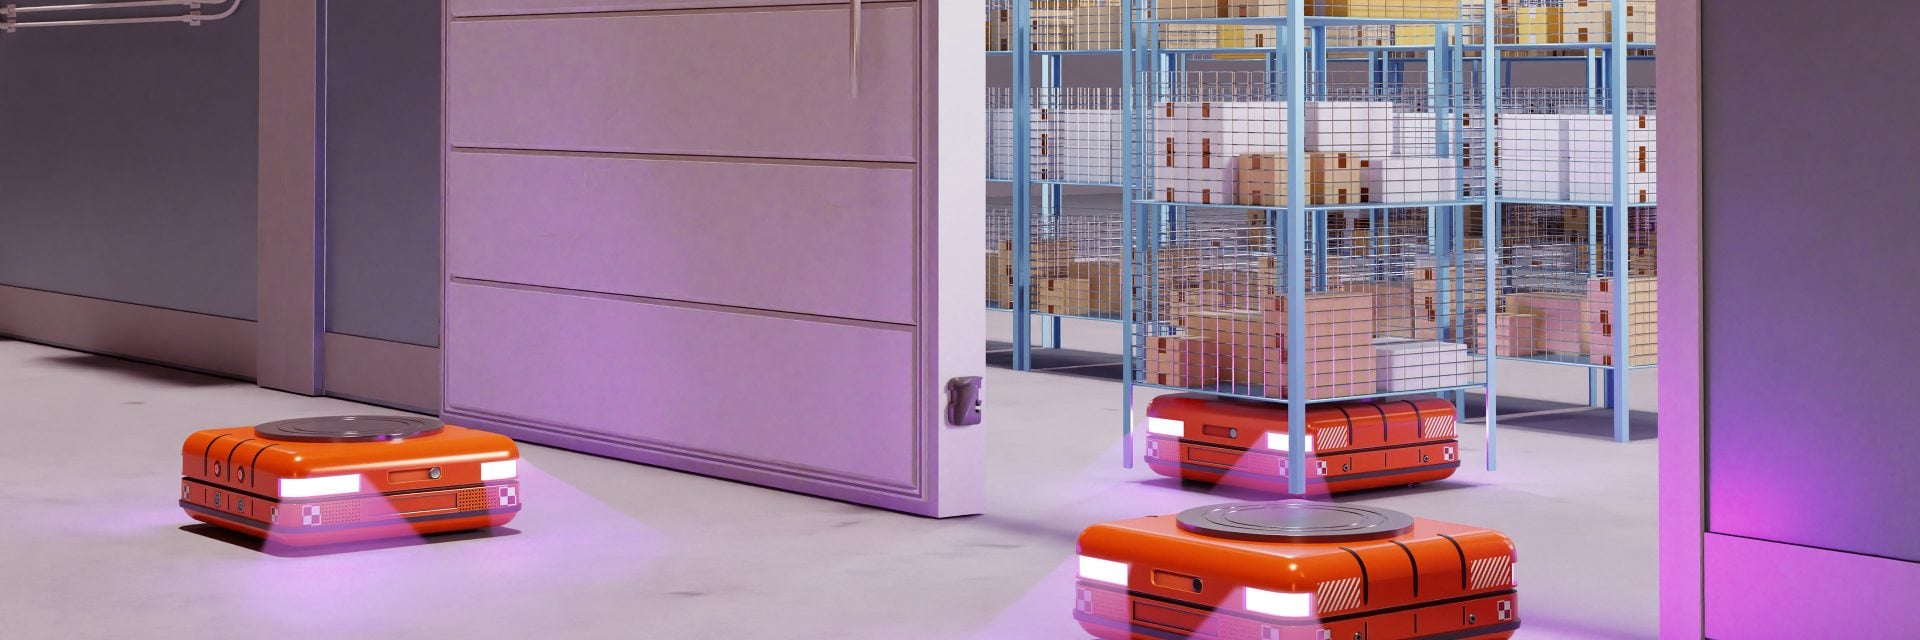
How a material handling equipment (MHE) simulation provides a better system design for efficiency and ROI
Read More
When autonomous mobile robots (AMRs) support material movement within a multi-step biopharma process, equipment placement becomes a primary driver of performance. Strategically placed equipment stations and access points can enable big wins for your operations; however, a poorly planned layout will be a continuous challenge to your robot’s productivity and the ROI of your robotic investment.
Robot-ready layout
Strategic equipment placement is one of the highest-gain strategies to implement in autonomous and robot-enabled biopharma functions, including laboratory operations, R&D, manufacturing cleanrooms and hybrid co-bot QC/QA environments. Depending on the specific function, a single robot may need to visit several stations for varying durations to complete its mission. To keep production continuous, there are likely several robots performing this same routine within the same space. Coordination, timing, and flow are critical to performance, and your layout underpins them all. Robots are fast and consistent, but they’re also constrained. Successful AMR layout design needs to include:
- Clear approach paths
- Predictable docking space
- Travel networks that avoid single‑file choke points
These seem very reasonable, but can quietly lead to delays, blocked access, long waiting queues and decreased performance if not done right.
Layout and design rules to support high-performing robots in biopharma processes
Here are some basic rules for a well-organized and logically structured space for your intralogistics and material handling robots to perform their process tasks efficiently and consistently:
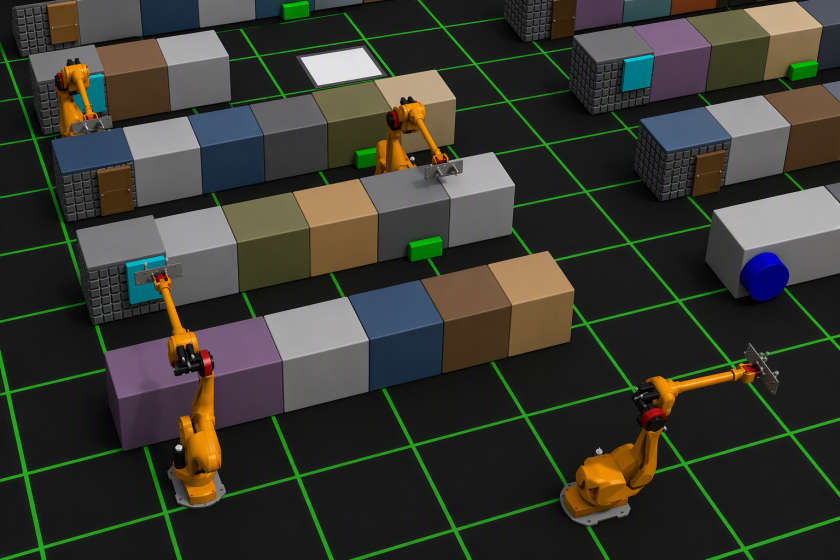
- Distribute identical tools/equipment stations to avoid localized capacity failures
- Place long-touch stations where robots can access them without blocking others
- Sequence short-touch stations early in one-way aisles
- Test, improve, and iterate your layout within a simulation
These rules enable smoother robot access, fewer hidden bottlenecks, and more stable throughput without requiring more robots or equipment to compensate for poor results. Below is the expanded version of these layout rules in greater detail.
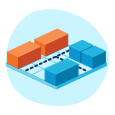
1. Distribute identical equipment to protect capacity when part of the room is unavailable
A tidy “bank” of identical tools or equipment can look efficient on a drawing, but it is often operationally fragile. In real operations, portions of a room can become temporarily unavailable – maintenance, cleaning, inspection, repairs, or short-term restrictions. If all instances of a critical tool type live in one zone, then a localized restriction can behave like a step-wide outage.
Placement rule #1:
Spread repeated equipment types across multiple zones of the room rather than concentrating them in a single block.
Why this helps mobile robots and throughput:
- Prevents a single area from becoming the universal destination—and therefore the universal queue
- Reduces the chance that congestion in one region cascades into system-wide waiting
- Allows the room to degrade gracefully: a restricted zone reduces capacity, but doesn’t eliminate it
A practical approach is to identify the equipment types with the greatest impact on throughput and/or process continuity, then ensure those tools are split across at least two separated areas that don’t share the same “single point of restriction.”
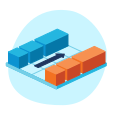
2. Put long robot touch time equipment where it can be accessed independently (often the perimeter)
Some equipment interfaces are quick: dock, exchange, leave. Others take longer: precise alignment, multiple end-effector actions, scanning/verification steps, door/interlock timing, or careful load/unload sequences. This “robot touch time” matters because a robot that’s stopped can behave like a temporary obstacle in the travel network.
Placement rule #2:
Bias long-touch-time stations toward locations where a robot can complete the interaction without blocking access to other stations.
Why this helps mobile robots and throughput:
In many layouts, those long touch time locations are outer ranks/perimeter positions or boundary-adjacent lanes where:
- Approach and departure are less constrained
- Staging or “pull-off” is easier to provide
- One mobile robot’s station time is less likely to trap other robots behind it
Meanwhile, tools with short, consistent interactions can be placed deeper in the interior because they clear quickly and keep the network moving. Try a quick heuristic. If a station is (a) long to service, (b) variable, or (c) prone to occasional retries, don’t place it in any segment where passing is difficult or impossible.
3. In unidirectional aisles, sequence low-touch-time equipment first
Unidirectional aisles are common in robot layouts because they simplify traffic logic and reduce head-on conflicts. The tradeoff is that one-way lanes behave like single-lane roads: stops near the “front” affect everything downstream.
Placement rule #3:
Within a one-way aisle, place the shortest robot-touch-time equipment near the start of the aisle.
Why this helps mobile robots and throughput:
If a robot must stop early in a one-way lane for a long interaction, other robots may be unable to reach downstream equipment until the aisle clears. If the early stations clear quickly, access to downstream stations remains available, and the aisle stays permeable during peaks.
Simple ranking to use inside one-way lanes:
- Earliest positions → shortest, most consistent robot interactions
- Deeper positions → longer interactions only if there’s relief space (pull-off) or an alternate access path
PRO TIP: COMPETING AMR OBJECTIVES
Most placement decisions are straightforward, but occasionally two “good” rules conflict. For example, you may want to distribute identical tools for resilience, but also keep travel tight for speed. In those cases, the best layouts usually favor preventing blocked access and preserving capacity first, then shortening travel paths once the room is robust. The key: Make the room hard to break, then make it fast.

4. Deploy a simulation
The previous three rules should be dynamically tested together within a simulation of your unique space.
The best layouts rarely come from applying rules once. Instead, they come from testing alternatives quickly, seeing how robot traffic and station interactions behave over time, and iterating. That’s exactly where dynamic simulation models add value: they act as a safe environment to experiment with equipment placement and quantify tradeoffs.
Placement rule #4:
Run a simulation to test and improve the design in a safe virtual environment.
Why this helps mobile robots and throughput:
Your simulation closes the loop between “good rules” and “actual behavior.” This is a data-backed strategy to answer challenging questions, like: “Does distributing redundant equipment reduce localized failure risk without creating a new congestion hotspot?” Or “Does a one-way aisle sequence keep downstream access open during peaks?”
You don’t need an overly complex framework to benefit from simulation in your layout design. A practical approach has just a few steps:
- Define your robotics system’s candidate placement options (e.g., clustered vs. distributed duplicates; perimeter vs. interior for long-touch stations; different sequences in one-way aisles).
- Run each option under identical assumptions so results are comparable.
- Compare a small set of placement-relevant metrics, such as:
- Robot queue time at stations
- Blocked-access time to downstream stations
- Robot travel time and variability
- Throughput/cycle-time impacts
- Adjust your robotic station layout where the model shows repeated blocking or unstable peaks, then rerun.
Why strategic layout + simulations deliver high-performing robotic systems
By testing how robots move, queue, and interact under real operating conditions, teams can identify hidden bottlenecks, compare alternatives, and make informed design choices before implementation. To be more specific, discrete-event simulations (DES) are stochastic/probabilistic to account for variability and dynamic to capture episodic performance metrics. This simulation approach allows you to examine and evaluate your system’s flow and performance from multiple dimensions, including:
“What if” comparisons
A simulation model can evaluate different equipment placements under the same demand and operating assumptions, then compare performance metrics across options – helping you choose a layout based on data-backed outcomes.
Time-dependent interactions
Static calculations often miss the fact that congestion is episodic: multiple robots arrive at the same region in bursts and interference spikes. These spikes and congestion are a real setback and surprise to the operations team, who must try to retroactively fix them. A simulation-first strategy reveals when and why blocking and waiting occur, and which robot interaction or equipment station triggers it.
Placement-driven constraints
Equipment placement decisions are tightly tied to variability (touch time, service time, arrival patterns). Simulation enables sensitivity analysis to see which layout is robust when variability increases or when peak demand hits.
Improve your layout and design. Improve your robotic systems’ performance.
Strong robotic productivity and outcomes are about more than selecting the right technology. It requires thoughtful planning of how robots, equipment, and workflows interact within a space. Strategic station placement, logical flow mapping, and a layout designed to minimize congestion can greatly improve throughput, resiliency, and operational stability. Small decisions made during facility planning can have lasting impacts on your facility’s capacity and success.
CRB has technical experts to support every step of this process, and we want to see YOU succeed. Talk to our team of experts today.